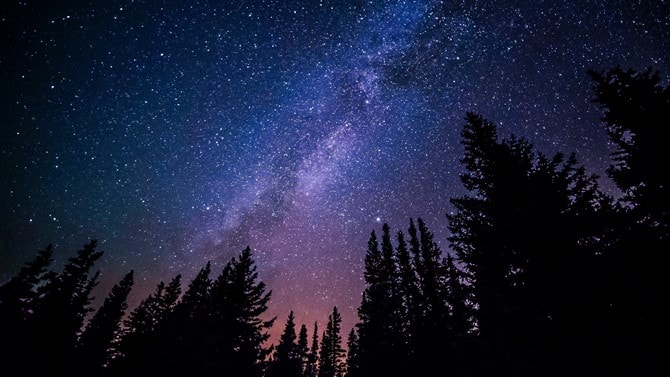
Capturing the night sky may at first seem like a daunting task, but after some careful planning it’s much easier than you think.
Following some in-depth research, we’ve created this, How To Photograph The Night Sky guide to get you underway to capturing the beauty that sits above us once the sun goes down.
How To Photograph The Night Sky
1. Plan Your Shoot
Planning is the key to any success. In addition to the standard considerations like weather, you’ll need to take a few other items in to count.
When choosing the location of your shoot, you’ll want to consult a light pollution map to help find a suitable area. Moving further away from light polluted skies means you’ll capture more stars in your frame, ultimately creating a spectacular final image.

2. Weather forecast
Always relying on the weather forecast is not advisable but it will give you a good idea if there will be clouds in the sky. Always worth checking a couple of different weather forecast sites to.
If you can’t avoid the clouds you could always incorporate them into your shoot. Flexibility in what you’re trying to capture could benefit your overall shoot.

3. Start With The Right Camera Equipment & Settings
We’re re not suggesting you head out and buy all the top gear, but below are some thought starters on what could work well.
When considering tripods that keep your camera steady for long exposures, many photographers use the Sirui Tripod R-4203L and Sirui Ball Head K-40X
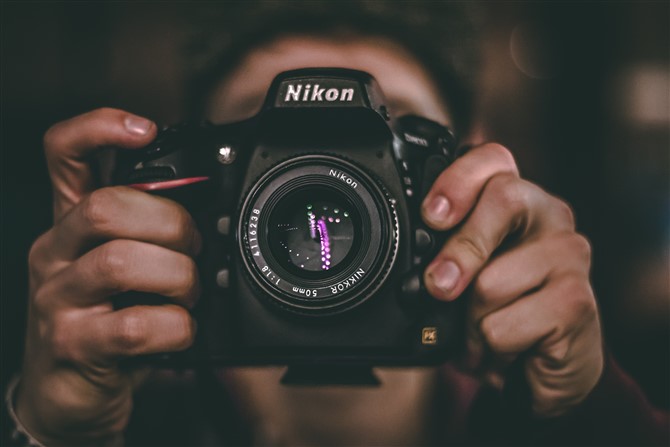
Want the stars to appear as dots not trails? Use a wide angle lens. Many go-to lenses are Samyang 14mm f/2.8 and Nikon 16 – 35mm f/4.0 VR.
In regards to settings, always take photos in RAW file format.
Focus to infinity either manually or simply using one bright spot to focus on. Use the widest aperture your lens has as far as the result is not too blurry. Boost up ISO, it is recommended you start from ISO 1600 and go up as much as your camera can handle with a decent end result. Take 30 second exposures to have the stars still when you use something like the above with a full frame camera. For a crop sensor camera, perhaps try using a 11 mm lens with aperture 2.8 and 30 seconds exposure.


5. Experiement
One of the most important tips we can give is, HAVE FUN on location.
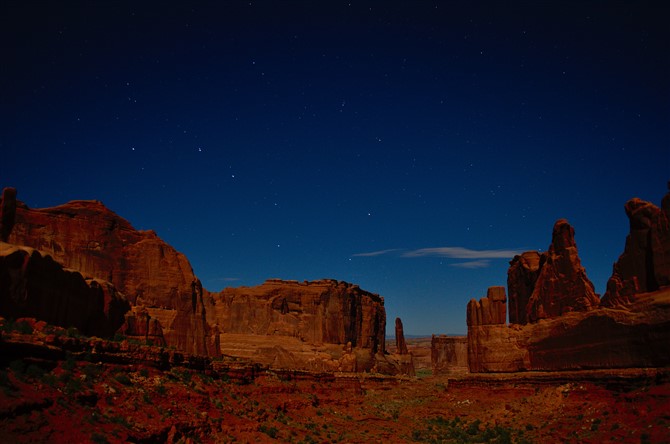
Once you find the place that fits for the purposes of taking pictures of stars, always experiment with different exposures and perspectives. Don’t just settle on one spot, look around to see something different you can include in the frame.
You’ll rarely get the shot you were looking for the first time. Take multiple shots and experiment with perspectives, subjects and your surrounds.

6. Extra tips
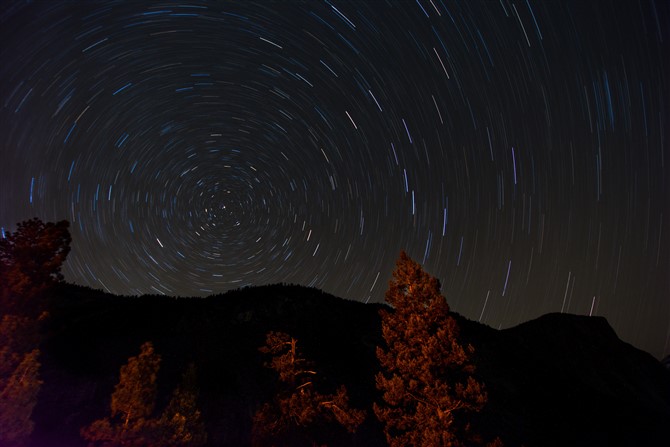
- It can often take several hundred photos to create your final desired star trail shot. With this in mind, plan accordingly when packing memory cards. It’s always better to have too many than not enough.
- Ensure that your batteries are fully charged and again, always bring a couple of spares. Batteries can drain faster than normal in colder temperatures.
- If lucky enough to have one, bring a second camera to shoot single images with. When traveling, it can be difficult to give your trails the focus they deserve as it may be taking away from time you could be obtaining additional images.


Leave a Reply