Indoor photography is a challenge to professional photographers working with high-quality equipment – is it any wonder that your average person trying to take a picture of their cat for photos on canvas is going to have trouble? Or that all of your photos of friends in the pub would make truly awful wall art with their glowing red eyes and blurry details? Or that no matter how proud you are of your living room redecoration, none of your pictures look remotely like a magazine spread and therefore will not be hung on the wall as part of a home art gallery?
The indoor lighting situation is the bane of photographers everywhere. But don’t lose hope. You can take photos worthy of canvas printing in the darkest of windowless rooms if you take a few simple precautions.
Canvas-Worthy Indoor Photos Tip #1: Bring the Outdoors In

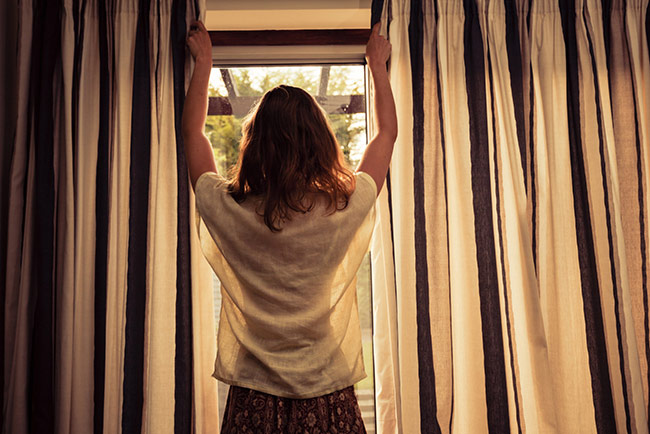
Our first tip for better indoor pictures will seem very basic, until you pause and realise (as everyone does) that you haven’t been taking it into consideration. It’s this: Open the windows.
Indoor photos are challenging because of the lack of light. Although you may be able to see perfectly well, and the low, yellow light from shaded bulbs feels very cosy and warm to us, the indoors is dimmer than the outdoors (during the day) by several orders of magnitude. It’s that simple: Open the windows. Open the doors. Get as much light into the room as possible.
Canvas-Worthy Indoor Photos Tip #2: Move towards the Light
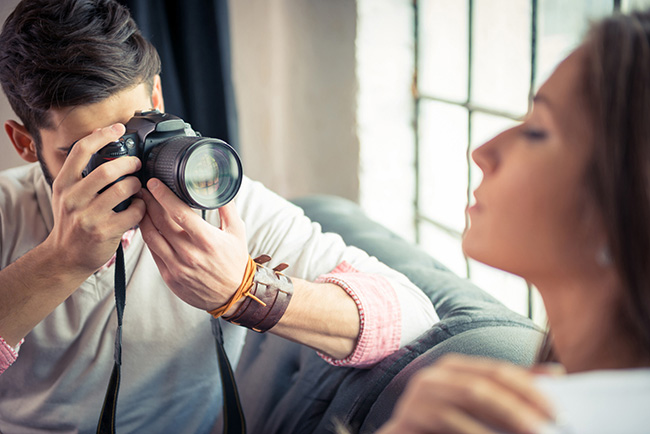
In the movies when people are on the operating table and flatline, someone will usually instruct them to stay away from the light – but in indoor photography, you need to always get as close to the light as possible. It’s a simple equation: More light = better photo. If you have a single window letting in the sun, get your subject as close to that window as possible. The closer you can pose your subject to the light, the better your photos will be.
Canvas-Worthy Indoor Photos Tip #3: Change the Settings
Again, this may seem basic, but many, many people fail to take this simple step. Your camera likely has a default “factory” setting which tries to be all things to all photos. Get in there and fiddle. If there’s a specific “indoor” present, that’s a good start, certainly, but also consider increasing the brightness, opening the aperture, and setting the camera to HDR instead of flash if it offers the option. The more tools you bring to an indoor photo shoot, the better your chances.
Canvas-Worthy Indoor Photos Tip #4: Get In Close

Finally, when shooting indoors, don’t zoom. Ever. Get right up in there, as physically close as you can. Fill the frame with your well-lit subject and crop out anything that isn’t germane to your photographic goal. Indoor settings can be very dim and blurry if you shoot too widely – instead, get close and personal and you’ll end up with a superior photo, no matter what the subject is. Unless the subject is a cat, in which case you will likely get a photo of a tail, beating a retreat.
Now, go forth and take indoor photos! And when you have some that have turned out much better than your previous effort, click here and we’ll help you make them into incredible wall art that will have your friends jealous.


Leave a Reply