
“Your first 10,000 photographs are your worst.” – Henri Cartier-Bresson
While a quote like that might sound confronting to the beginner photographer, the point Cartier-Bresson is making is a classic one – practice makes perfect.
You can be across all the photographic techniques and have all the gear in the world, but if you’re not out there taking photos you are not learning a thing.
The good news is that in the digital age of photography where quality DSLR cameras are relatively affordable, the opportunity to take photo after photo after photo is boundless.
If you’re keen to take better photography, these ideas will open your eyes a bit wider to the possibilities available to you. Happy snapping!
1. Shoot every day
Practice makes perfect. If you want to hone your skills, set yourself a goal to shoot every day. Multiple times a day. Hours a day if you can swing it.
It doesn’t even matter if your technical skills are still wanting. The most important thing is getting to know how it feels to shoot and discovering what subjects you enjoy shooting. The more your shoot, the more the tricks of the trade will make sense to you later.
2. Buy KNOWLEDGE not gear
You can have all the expensive camera equipment in the world, but if you don’t first understand the fundamentals of photography or appreciate what that gear is for, it will prove useless.
Buy photography books, sign up for a course or – even more affordably – read everything about everything online. Hop online and research photographers, both amateurs and professionals, to see what they’re producing. Be inspired by what you see, discover ways to improve and simply soak up the knowledge.
Remember, study doesn’t feel like study when you’re passionate about something.
Photo Source: ‘Book’ by Hernán Pinerarom on Flickr
3. Use flash outdoors
Mere mortals who own a point and click camera tend to use the flash to brighten (or blow out!) a dark space indoors. And while flashes on fancier DSLR cameras do it better, that’s not what DSLRs are solely for.
In Digital Photo Secrets, photographer David Peterson describes the sun as a ‘giant light bulb in the sky’ which is all very well and good except the sun shines only in one direction. If it’s not shining on your subject’s face, what do you do then? That’s where flash photography steps in. Peterson recommends using a fill flash.
“Photos with shadowy areas in the foreground don’t appear balanced, and they rarely look good. As a general rule, you will want to remove shadows on people’s faces or any subject in the foreground. A fill flash simply adds an extra burst of light to balance out the light in your photo and make it more visually appealing,” says Peterson.
A fill flash throws enough light on the subject to make it as bright as the rest of the scene. The fill flash mode is great for when your subject (often a person) is within 1.5 metres. If the person is further than 1.5 metres away then try the full power flash mode. The great thing about a digital camera is you can check out the results straight away on the preview display.
4. Steady your camera with a tripod
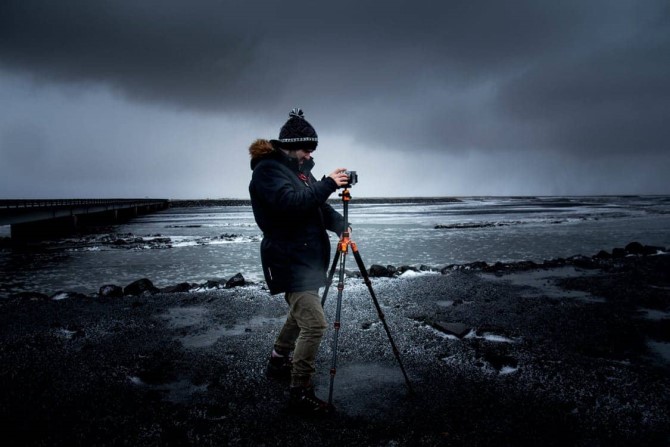
It sounds like a straightforward idea, but it’s an oft forgotten piece of the puzzle. Tripods are great for those with unsteady hands, but also ideal for those who are into patiently waiting to get the best shot – think sunrises, sunsets and nature photography.
They’re also great for macro photography which truly does require a steady hand as close up shots demand a lot of skill.
A tripod is also handy on days you’re being super creative. Holding a camera up for hours and hours is not only tiring, but it can often distract from focusing on what’s important – getting the lighting right and adjusting your subject to name just two.
5. SHIFT SuBJECT AWAY FROM middle
It’s tempting for beginner photographers to place their subject front and centre in the frame. Of course, this can work, but it doesn’t have to be the default position each and every time, particularly when the background is extraordinarily beautiful.
Shifting your subjects away from the middle of the picture can bring your photo to life. If you tend to use auto-focus, this may prove tricky as it will tend to focus at whatever is located in the middle of your viewfinder. You’ll need to manually lock the focus in the right place.
According to David Peterson in Digital Photo Secrets, using the ‘rule of thirds’ will add dynamism to your photo.
“Simply divide the image into thirds both horizontally and vertically. When composing your shot, place important elements either along these lines, or where the lines intersect – NOT at the centre of the frame,” he says.
6. Understand the exposure triangle
Remember #2, buy knowledge not gear? This is where that comes in. Bryan Peterson has written a book called Understanding Exposure: How to Shoot Great Photographs with a Film or Digital Camera and it’s well worth a read.
In brief, the three elements of the exposure triangle are:
1. ISO
2. Aperture
3. Shutter Speed
According to Darren Rowse at Digital Photography School, it’s ‘at the intersection of these three elements that an image’s exposure is worked out’.
If you know how to control or fine-tune these elements, you’ll be taking well exposed photos in no time.
7. Shoot early in the morning and late in the afternoon
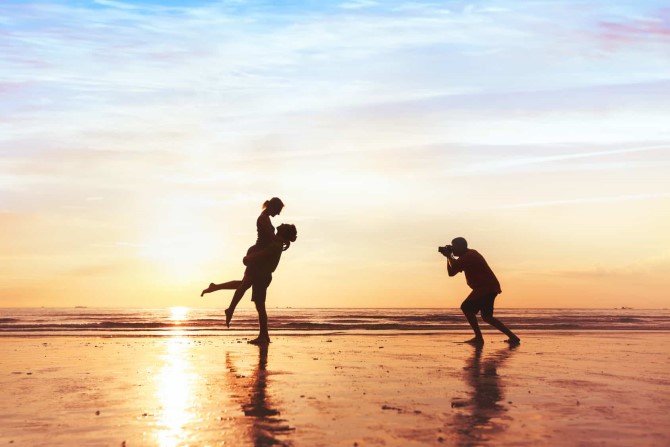
Even a super amateur will know how wonderful and enjoyable it is taking photos during early mornings and late afternoons. Why? Because the natural, beautiful, soft light does all the work for them, making it super easy to compose a great shot.
But master photographers also ogle after this type of light. For portrait photography, light like this is a god send. Of course it’s not only mornings and late afternoons that produce this kind of light. Midday is fine if the sky is covered in thin clouds that diffuse the light. Too dark and cloudy isn’t going to cut it unless, of course, you’re taking photos of the storm itself!
You can spend a ton of money on fancy flashes and reflectors, but finding the right light, at the right time on the right day is absolutely priceless.
8. Learn Basic Techniques then LEAVE THEM BE
If you know the rules you can break the rules. Learn the fundamentals of photography like the exposure triangle and the rule of thirds, get to know them like a new best friend then leave them be like a child casts aside a toy.
Sure, keep the rules in the back of your head if you want to and keep learning new techniques, but avoid letting the rules stifle your creativity.
For your own sake and your audience’s, keep things fresh by stepping outside the square, stretching the rules as far as you can.
9. Photograph pretty things
The world is a beautiful place which is why we hang prints of rainforests on our walls rather than coal mines, so run with it.
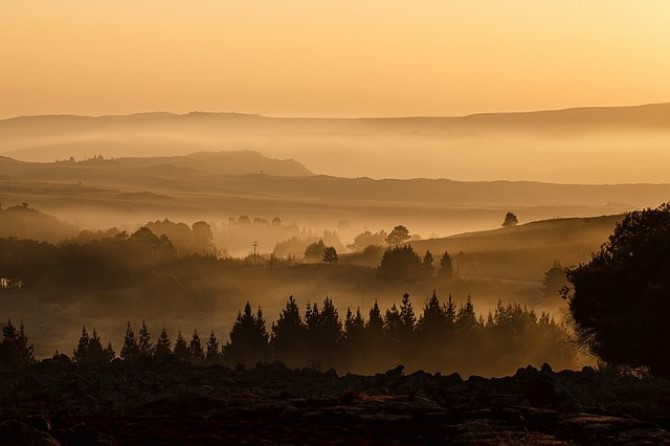
Revel in a beautiful sunset. Marvel at the glory of a pink rose. Wonder at the magic of a misty mountain. Gawp at a big bouncy baby.
But remember the camera also finds beauty in the ugly and the unusual (macro photography achieves this brilliantly), so don’t be shy about experimenting with strange subjects and settings.
Photo Source: ‘Flower’ by Sunny M5 on Flickr





Leave a Reply